

Refinishing your hardwood floors is one of the most effective ways to restore beauty, increase durability, and refresh the appearance of your home. If you’ve never gone through the process, understanding what happens at each stage can give you clarity and confidence before the work begins. Here’s a clear, step-by-step guide to what you can expect during the wood floor refinishing process.
- Initial Assessment and Preparation
Before any tools come out, a professional team evaluates the condition of your floors. They check for deep scratches, uneven areas, gaps, or signs of moisture damage. This determines how intensive the refinishing work will need to be.
Next comes space preparation: removing furniture, protecting nearby areas, and ensuring proper ventilation. This setup is essential to guarantee efficiency and a clean work environment throughout the project.
- Sanding the Hardwood Floors
Sanding is the foundation of the transformation. Using industrial-grade sanding equipment, the old finish, surface wear, and imperfections are carefully removed. This is a multi-stage process that starts with coarse grains and gradually transitions to finer ones to create a smooth, uniform surface.
Edges and corners are finished with smaller tools to ensure consistency across the entire room. When done correctly, sanding reveals the natural beauty of the wood underneath.
- Cleaning and Buffing
Once sanding is complete, the floor is thoroughly vacuumed and wiped to remove every trace of dust. A buffing machine is often used to smooth out any micro-scratches and ensure the floor is perfectly prepared for staining or sealing. This step enhances the long-term quality and appearance of the final result.
- Optional Staining
If you want to enhance or change the color of your floors, staining comes next. This phase requires precision and timing: the stain is applied in even coats following the direction of the wood grain to achieve a rich, uniform look.
From natural tones to modern dark finishes, staining lets you customize your space based on your style and the mood you want to create.
- Applying the Finish and Sealant
After staining (or skipping it, if you prefer the natural wood tone), the next step is sealing the floor. Multiple coats of protective finish (such as polyurethane) are applied to shield the wood from scratches, moisture, and daily wear.
You can choose between matte, satin, semi-gloss, or high-gloss finishes. Each layer is applied carefully, and some require light sanding between coats for optimal smoothness and adhesion. This is one of the most important phases of the wood floor refinishing process.
- Drying, Curing, and Final Setup
Once the final coat is applied, the floor needs time to dry. Light foot traffic is usually allowed after a day, but full curing can take several days depending on the products used. During this period, it’s best to avoid placing furniture or rugs.
After curing, you can move items back in. Ideally with protective pads under furniture legs to keep your newly refinished surface looking pristine.
A Renewed Space You’ll Love
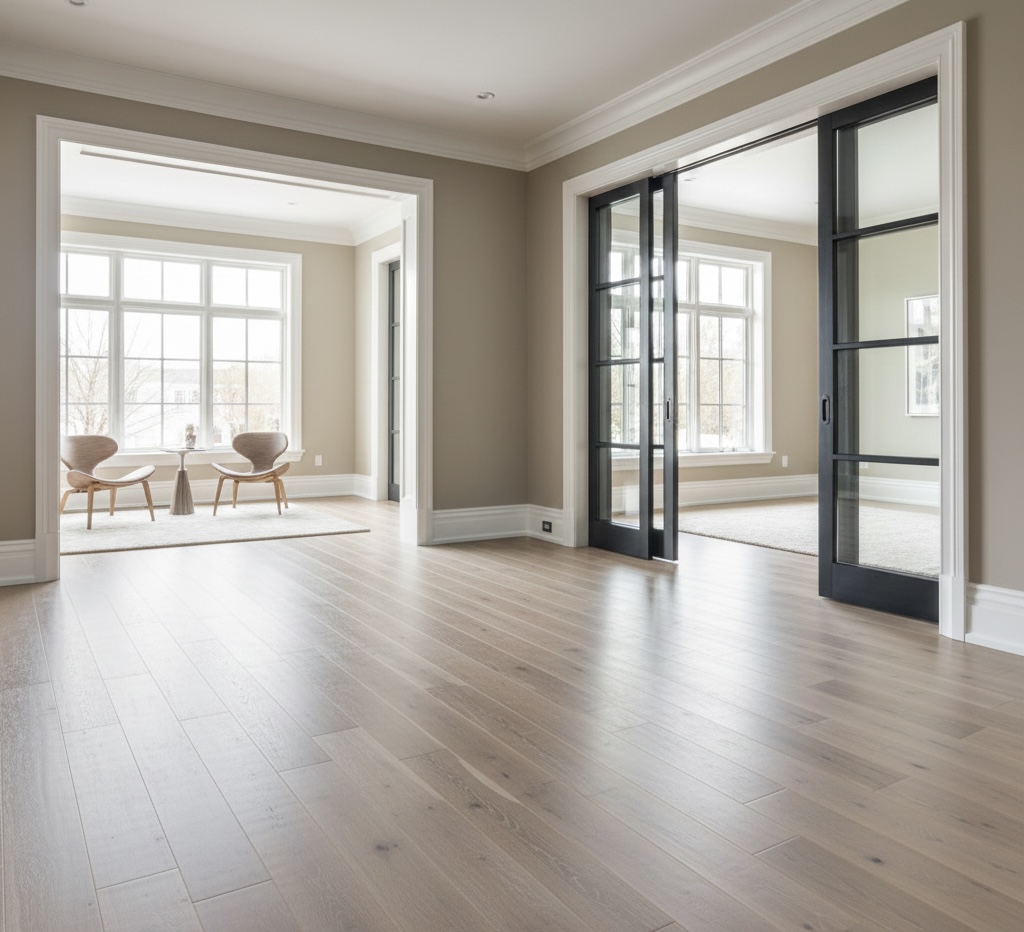
Refinishing your hardwood floors not only restores their original charm but also extends their lifespan and enhances the overall value of your home. When the wood floor refinishing process is carried out by experienced professionals, the results are smooth, durable, and visually striking.
📞 Contact Plethora Installs at 737-333-2472
📧 info@plethorainstalls.com